Welcome back to the Sew With Vision Blog with me, Sarah at Sundew Quilts, for month 2!
I had so much fun writing a tutorial last month that I couldn’t help but do another one!
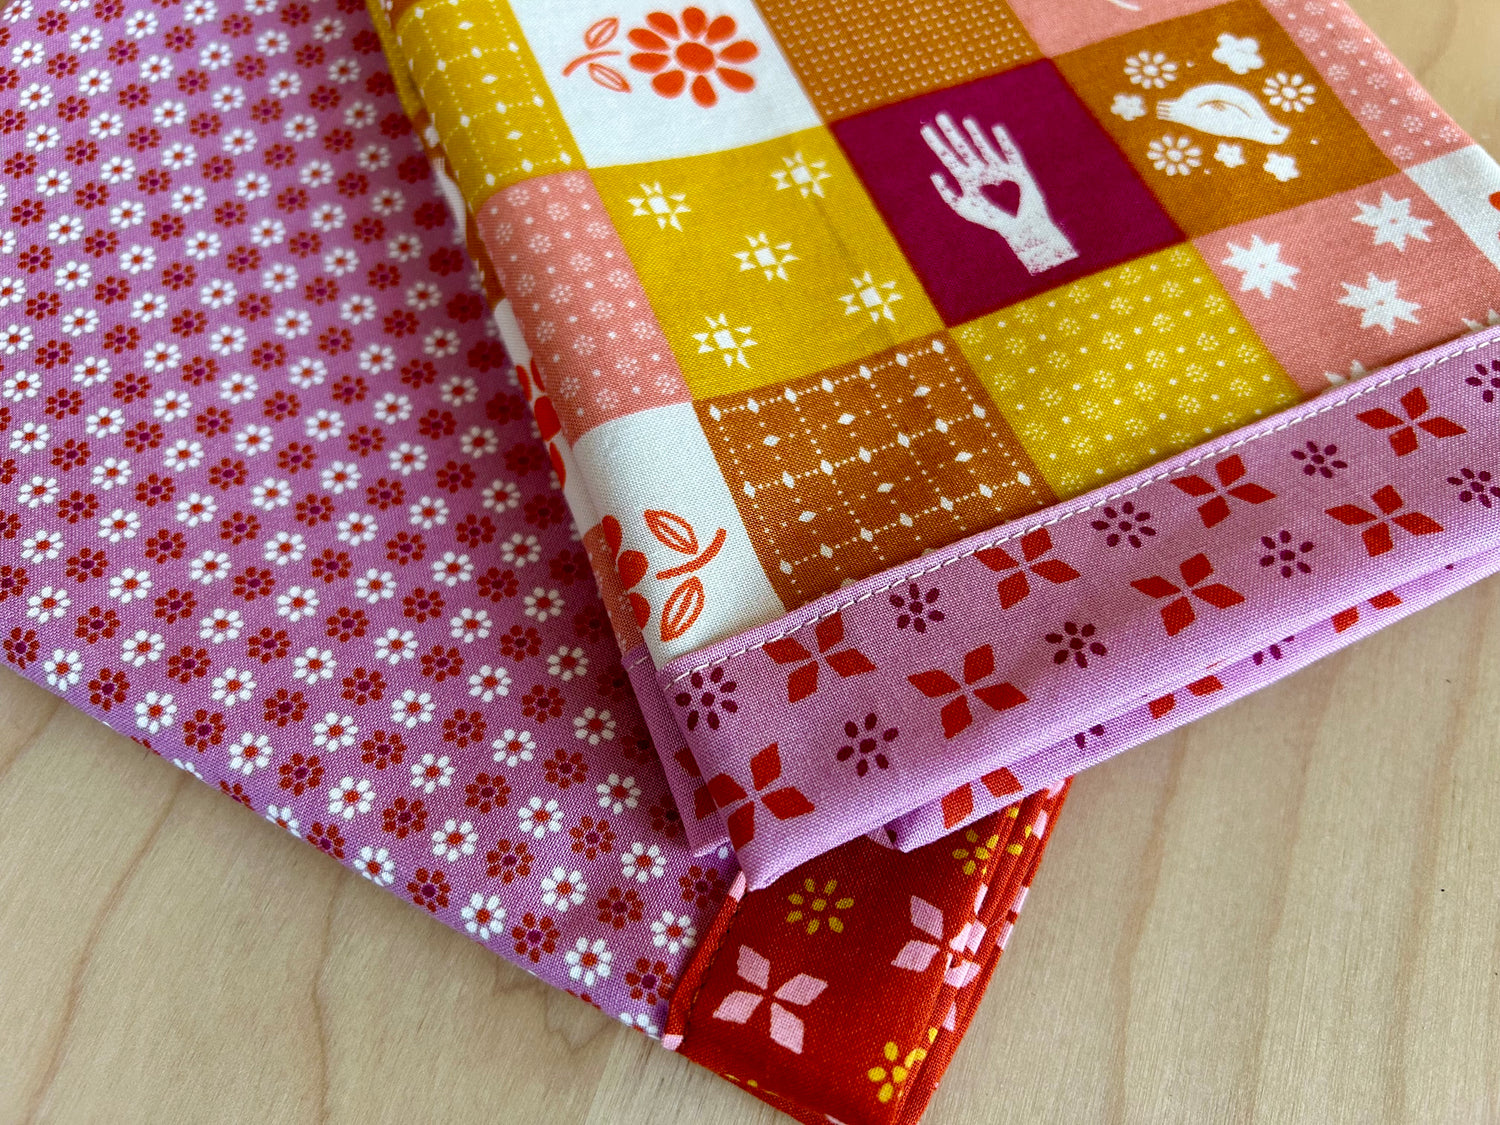
This month it's double-sided napkins using fat quarters, with mitered corners for a little pizzazz.


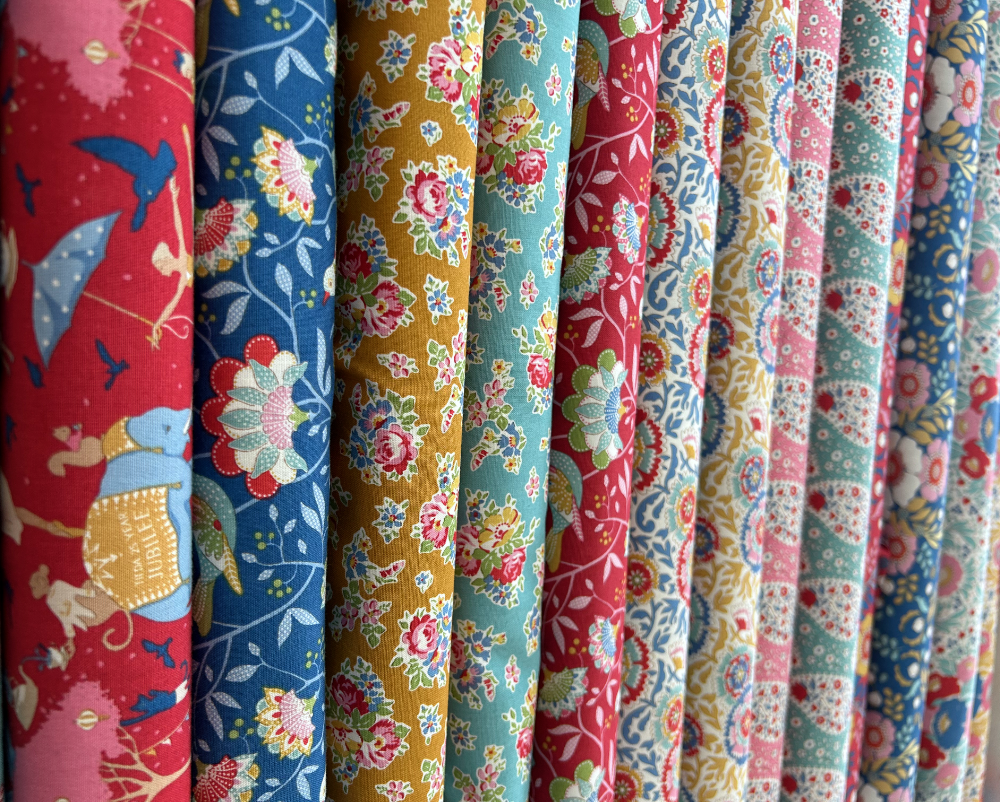
This Sugar Maple fabric line by Ruby Star Society makes me dream of summer picnics. Wouldn't these napkins be wonderful bundled in with a picnic quilt for a wedding or birthday gift?

Three things I really love about this project: it’s fast, makes a great gift, and it’s a chance to show off those adorable, colorful, or otherwise spectacular fat quarters that just don’t seem to fit into a full quilt. You could also use reclaimed fabric like vintage cotton pillow cases to make these very eco-friendly.
This project makes a 16" square napkin, which is plenty big for most informal purposes. See the end of this entry for some more notes about napkin sizes and instructions on how to size these up or down.

Project requirements for one napkin
- One 19" square of backing fabric (a fat quarter will be perfect)
- Should be as dark as or darker than the front fabric, or else the front fabric may show through. I learned that the hard way.
- This backing will show on the front, so if it has a strong linear pattern, cut carefully so the pattern is straight.
- One 15½" square of front fabric from a contrasting fat quarter.
- Water soluble or other removable fabric marker (but not heat removable).
- I’m trying a Crayola ultra-washable marker this month. Make sure to go for ultra washable though, I learned that the hard way, too!
- A color of thread for top stitching that matches or complements the backing fabric.
Prepare the backing fabric:
On the wrong side of the fabric, draw a line 1” in from each edge, and another line 2

Lay the backing fabric wrong side up on your ironing board. Fold the top edge in so it touches the 1” line (creating a ½” fold) and iron in place.


Without unfolding, fold again from the top edge to touch the 2½” line, creating a second fold that is 1” wide.

Unfold and repeat for the bottom, then left- and right-hand sides of the fabric, so every side has two fold lines ironed in.
Take the fabric back to your cutting board.
On each corner, unfold the bigger fold and keep just the first, smaller fold of ½” on both sides of the corner.
Measure in 2” from each folded side and mark on the folded edge.


Draw a diagonal line between the marks. Repeat for all four corners.

Sew the mitered corners
Now, without unfolding that first small fold, fold each corner right sides together, making sure the ends of the diagonal line you just drew match up at the edges. The better your edges match, the neater your corner will be. Pin in place.


Sew along the diagonal line. Make sure to sew along the line you just drew, closer to the corner, and not your previous fold line. You’ll never guess how I learned that (hint: not the easy way).
I like to back tack and do a couple of extra stitches at each end to make the corners stronger.
Repeat for all four corners.

Trim and iron corners
At this stage I like to quickly poke the corners right side out to check, before trimming and ironing, that they are going to make a nice corner. If I got the angle wrong, I will rip and re-sew that corner. Fortunately this one looks ok!

Turn the corners back wrong side out and trim each corner ¼” away from the sewn line.
Now poke the corners right side out using a semi-sharp implement like a knitting needle, stiletto, etc. Try to get them turned all the way out so the corner is crisp.
Iron each corner flat. You now have a 16” square napkin back with a 1” frame waiting for the front fabric!

Add front fabric and finish napkin
Place the napkin backing right side down, with mitered corners facing up as in the photo above.
Take the 15½” square of front fabric. Lay it centered on top of the backing, right side up. Ensure there is a good amount of fabric overlapping the frame on all sides (about ¼”).

Tuck the front fabric gently underneath the frame on all four sides. Pin as needed.

Top stitch the backing to the front fabric, close to the overlapping edge. I used a zipper foot to get a close fit, a left compensating foot would work as well. This would also be a great place to use a cute speciality stitch from your machine!

I was using matching thread, so I added a few extra stitches at each corner to further strengthen it. If I were using a contrasting thread, I probably wouldn’t bother.
Voila! A charming fabric napkin. Here it is with a friend.

Different napkin sizes
I advise making a sample before deciding on a napkin size. I found this 16" square to be just right for my lifestyle, but more formal napkins can get larger.
It's easy to change the backing and front size to change up the final napkin size - start with a back 3" larger than your finished size, and a front ½” smaller. Some examples below:
| Type | Finished size | Back square | Front square |
| Formal dinner | 24" square | 27" | 23½” |
|
Informal dinner |
20" square | 23" | 19½" |
| Lunch | 18" square | 21" | 17½" |
| Cocktail | 14" square | 17" | 13½" |
| Kids/lunch bag | 10" square | 13" | 9½" |
Different frame sizes
You can easily change the frame size (the size of the mitered corners) as well. This will impact the final napkin size compared to the starting squares - a bigger frame will make a smaller napkin and vice versa.
The important note is that when you mark the corners and draw a diagonal line, you will mark at twice the finished frame width. We created a 1" wide frame, so marked at 2" in from the corner. Two more examples below:
Frame size of ½”
- 19" starting size for the backing square makes a 17" napkin.
- Draw lines at ½” and 1½”.
- Mark corners at 1”.
- Use a 16½” front square (back size minus 2½”).
Frame size of 1½”
- 19" starting size for the backing square makes a 15" napkin.
- Draw lines at ½” and 3½”.
- Mark corners at 3”.
- Use a 14½” front square (back size minus 4½”).
Thanks again for joining us this month (and reading this far)! As always, we love to see your beautiful work! Bring it by the store, or tag us on Facebook or Instagram (@sewwithvision, @sundewquilts_ns). 
Thanks and hope to see you next month!
Sarah and the Sew With Vision crew
![]()


Leave a comment
This site is protected by hCaptcha and the hCaptcha Privacy Policy and Terms of Service apply.