This month I wanted to highlight my absolute favorite quilting splurge item: the Stripology XL ruler from Creative Grids.

I'm a fan of the whole Creative Grids line and have slowly been building up a stash of their rulers. I love the grippy back but my favorite part is the markings: narrow black and white lines make it easy to see what I'm doing and help my cutting be more accurate.
What's all the fuss about?
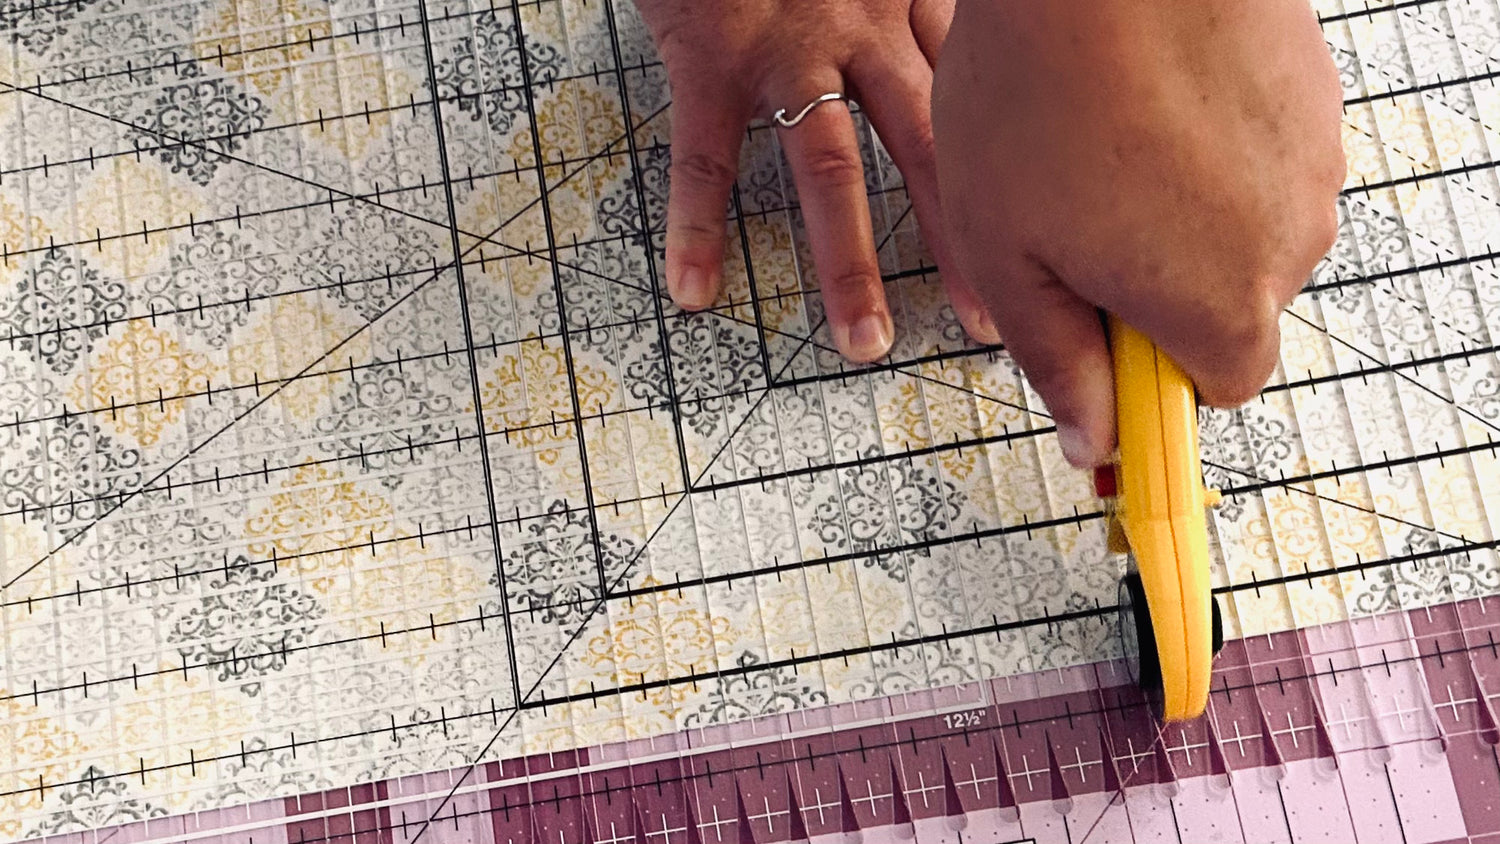
This particular ruler has a devoted following, bordering on fanatical (or maybe that's just me). So what's all the fuss about it? And how does it work? Check out this close-up.

The ruler has narrow vertical slits running every half inch from 0" to 20". Fit your rotary cutter into the teardrop shape at the bottom of the slit and the slit will guide your cutter into a very straight and accurate cut. If you place the ruler on top of folded yardage, you can cut perfect strips very quickly. Almost TOO quickly. You may want to sash everything in sight!
Like all Creative Grids rulers, the markings are designed in black and white to give good visibility. There are useful symbols and lines on the ruler to help with cutting as well, for example:
- a ¼" line so you can offset the ruler to cut fabric on ¼" measurements,
- angled lines to cut at 45 and 60 degrees,
- squaring up lines for blocks,
- star and square symbols along the bottom to indicate every 1½" and 2½", making cutting sashing and binding strips almost foolproof.
Watch out for fakes and knockoffs: take care to buy from a reputable quilt store (like us, of course!). In this case you really do get what you pay for.

How to cut strips and squares using the Stripology XL
Sally graciously let me take some photos of her demonstrating the Stripology XL (and even more graciously, she was cutting for my project!).
First she folded some fabric from selvedge to selvedge. She then folded the fabric again lengthwise, bringing the top fold down to the selvedges.
The top and bottom folds should be even and parallel. This will give you straight strips instead of the dreaded "J" or "W" shape strips. I usually check the folds using the horizontal markings on the stripology ruler.
 Here's an example of the folding process with yardage:
 Place the ruler over the folded fabric, with the bottom of the fabric a few inches up from the bottom of the ruler. Square off the left edge using the "0" line.
Continue to the right, cutting strips to desired width. Please enjoy Sally giving me a heart attack by keeping her hand so close to the blade. She didn't need to - the ruler is fairly heavy and has a non-stick grip on the back so it stays in place quite well.
 You can also use this tool to make squares. After your first set of strips is cut, turn the strips (or your cutting mat) 90 degrees . Make sure the strips are aligned closely (you can stack them if desired).
  Align the strips top and bottom with with the horizontal markings on the ruler. Ensure the selvedges are sticking out past the "0" line on the ruler. Proceed to cut your squares, again starting at the "0" line and moving right.
 When you lift the ruler you should have perfectly-sized squares. Great if you need a lot of precision or you have a lot of repetitive cutting ahead of you!

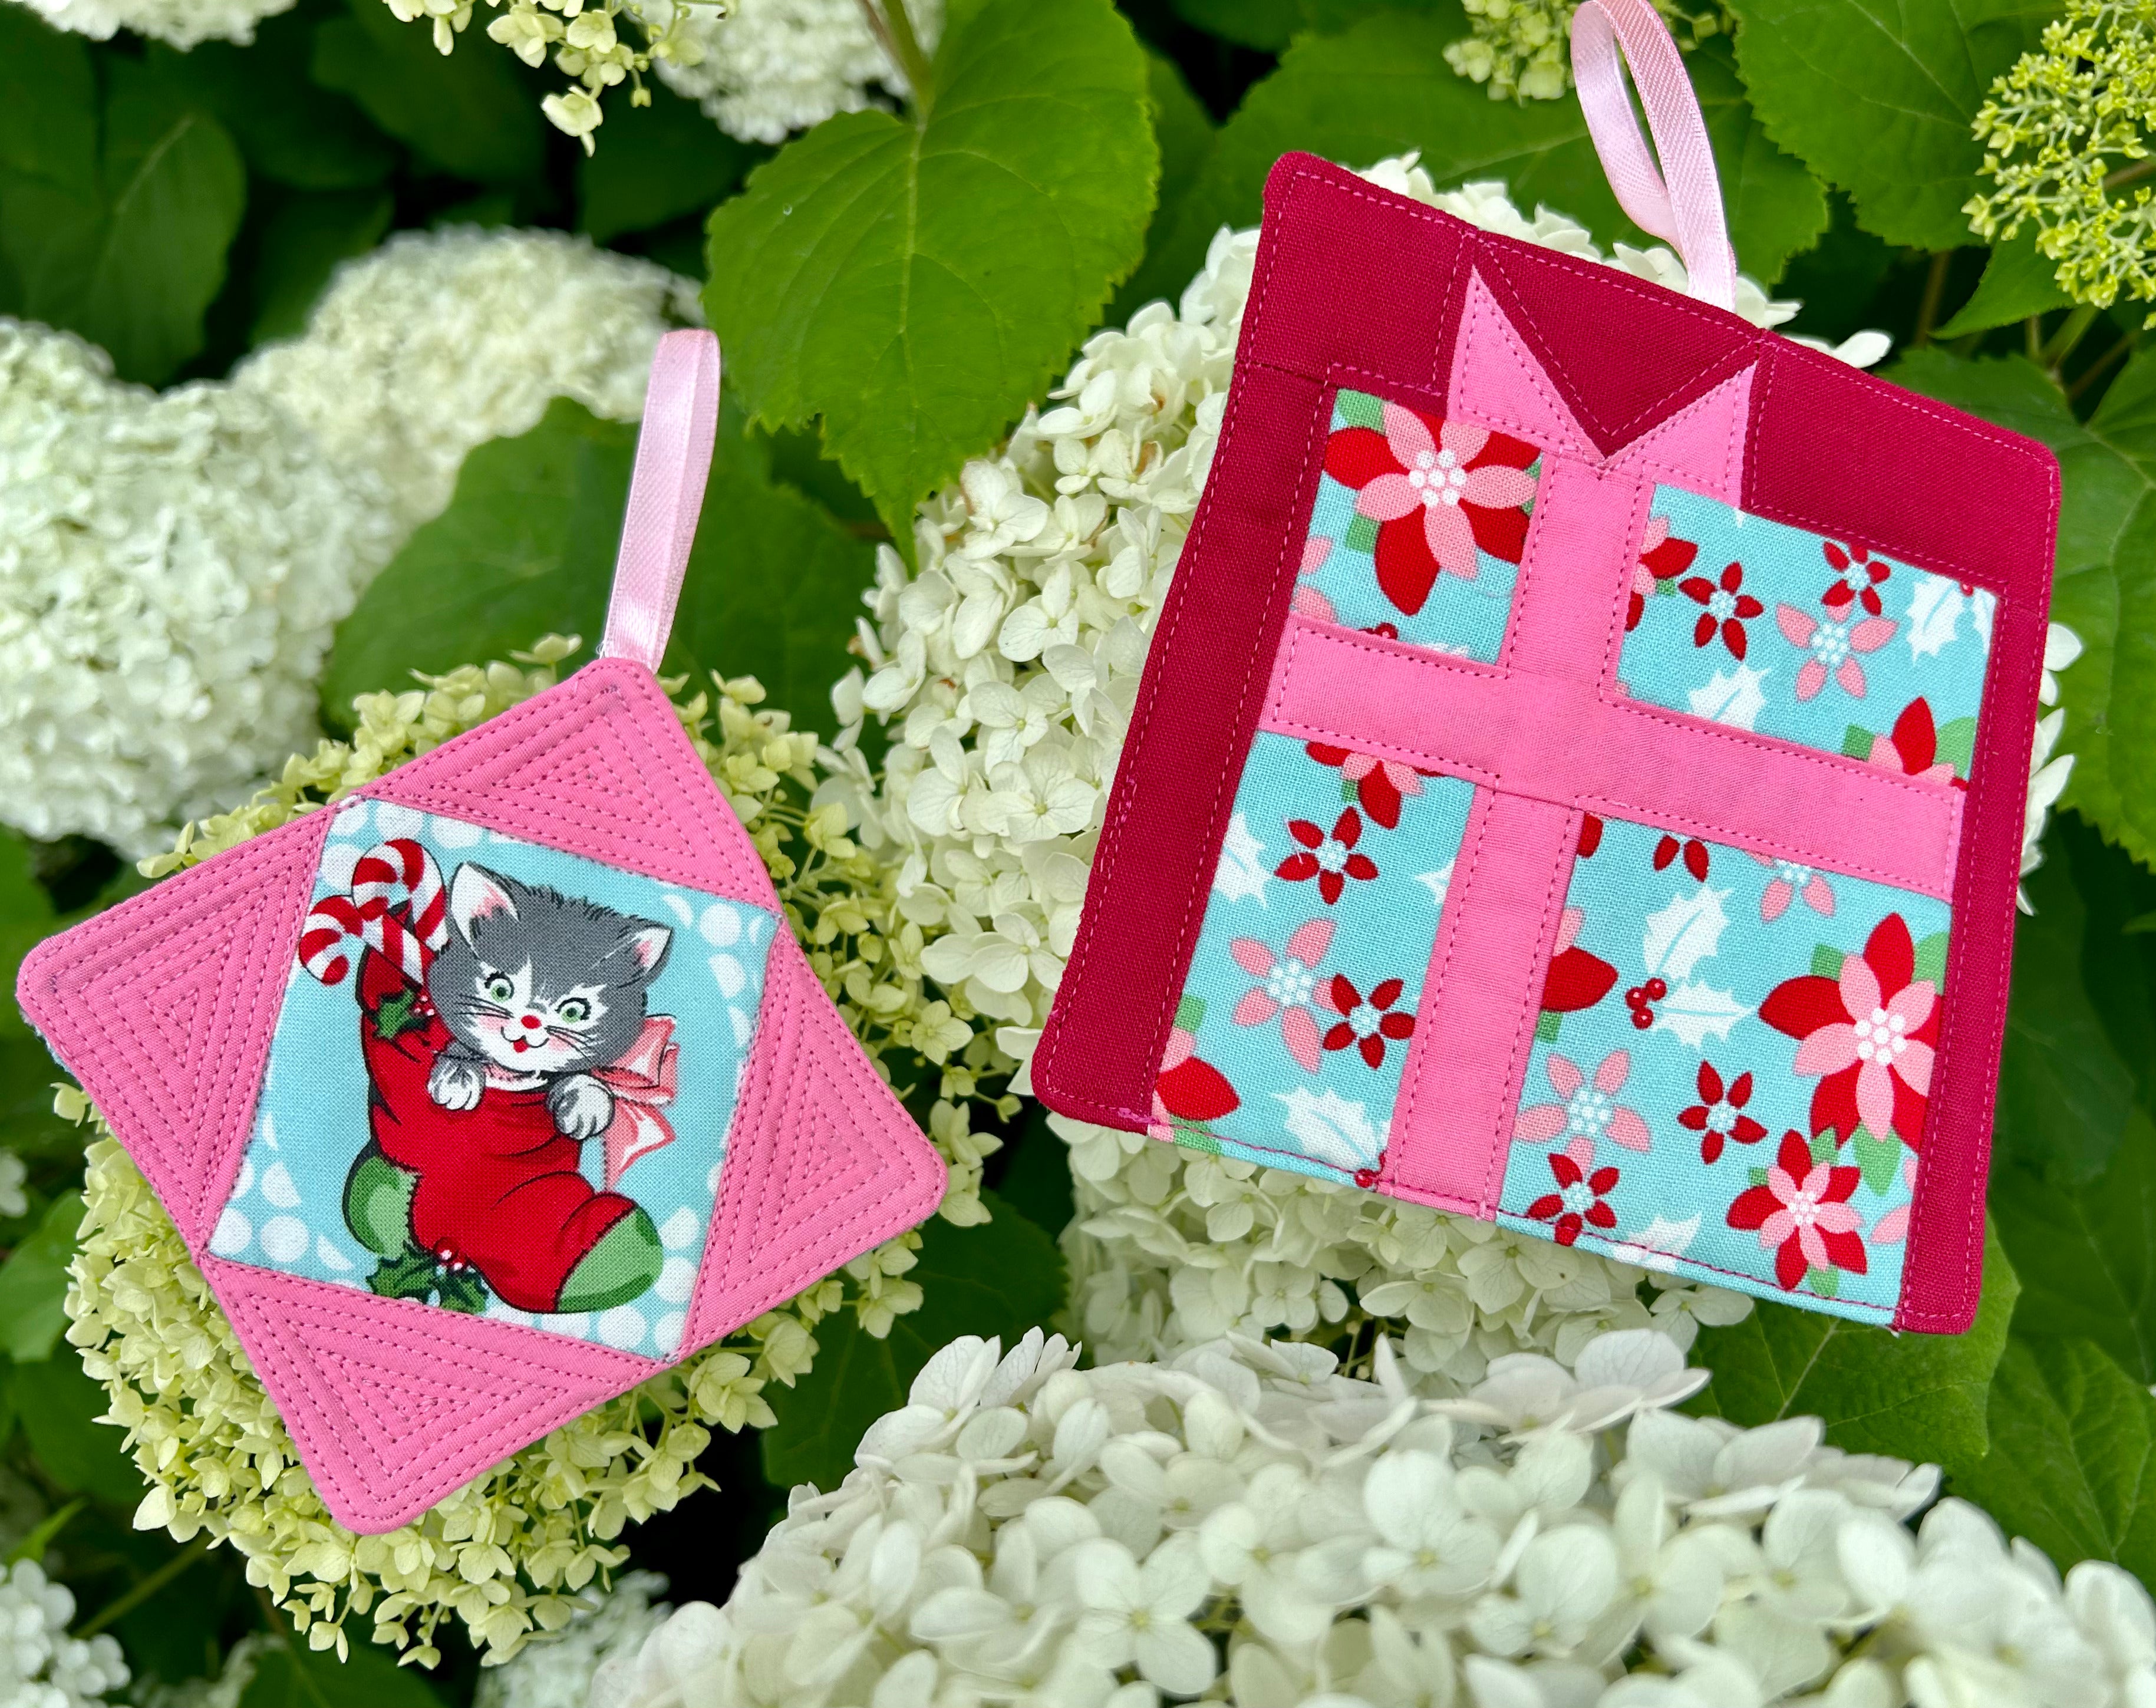
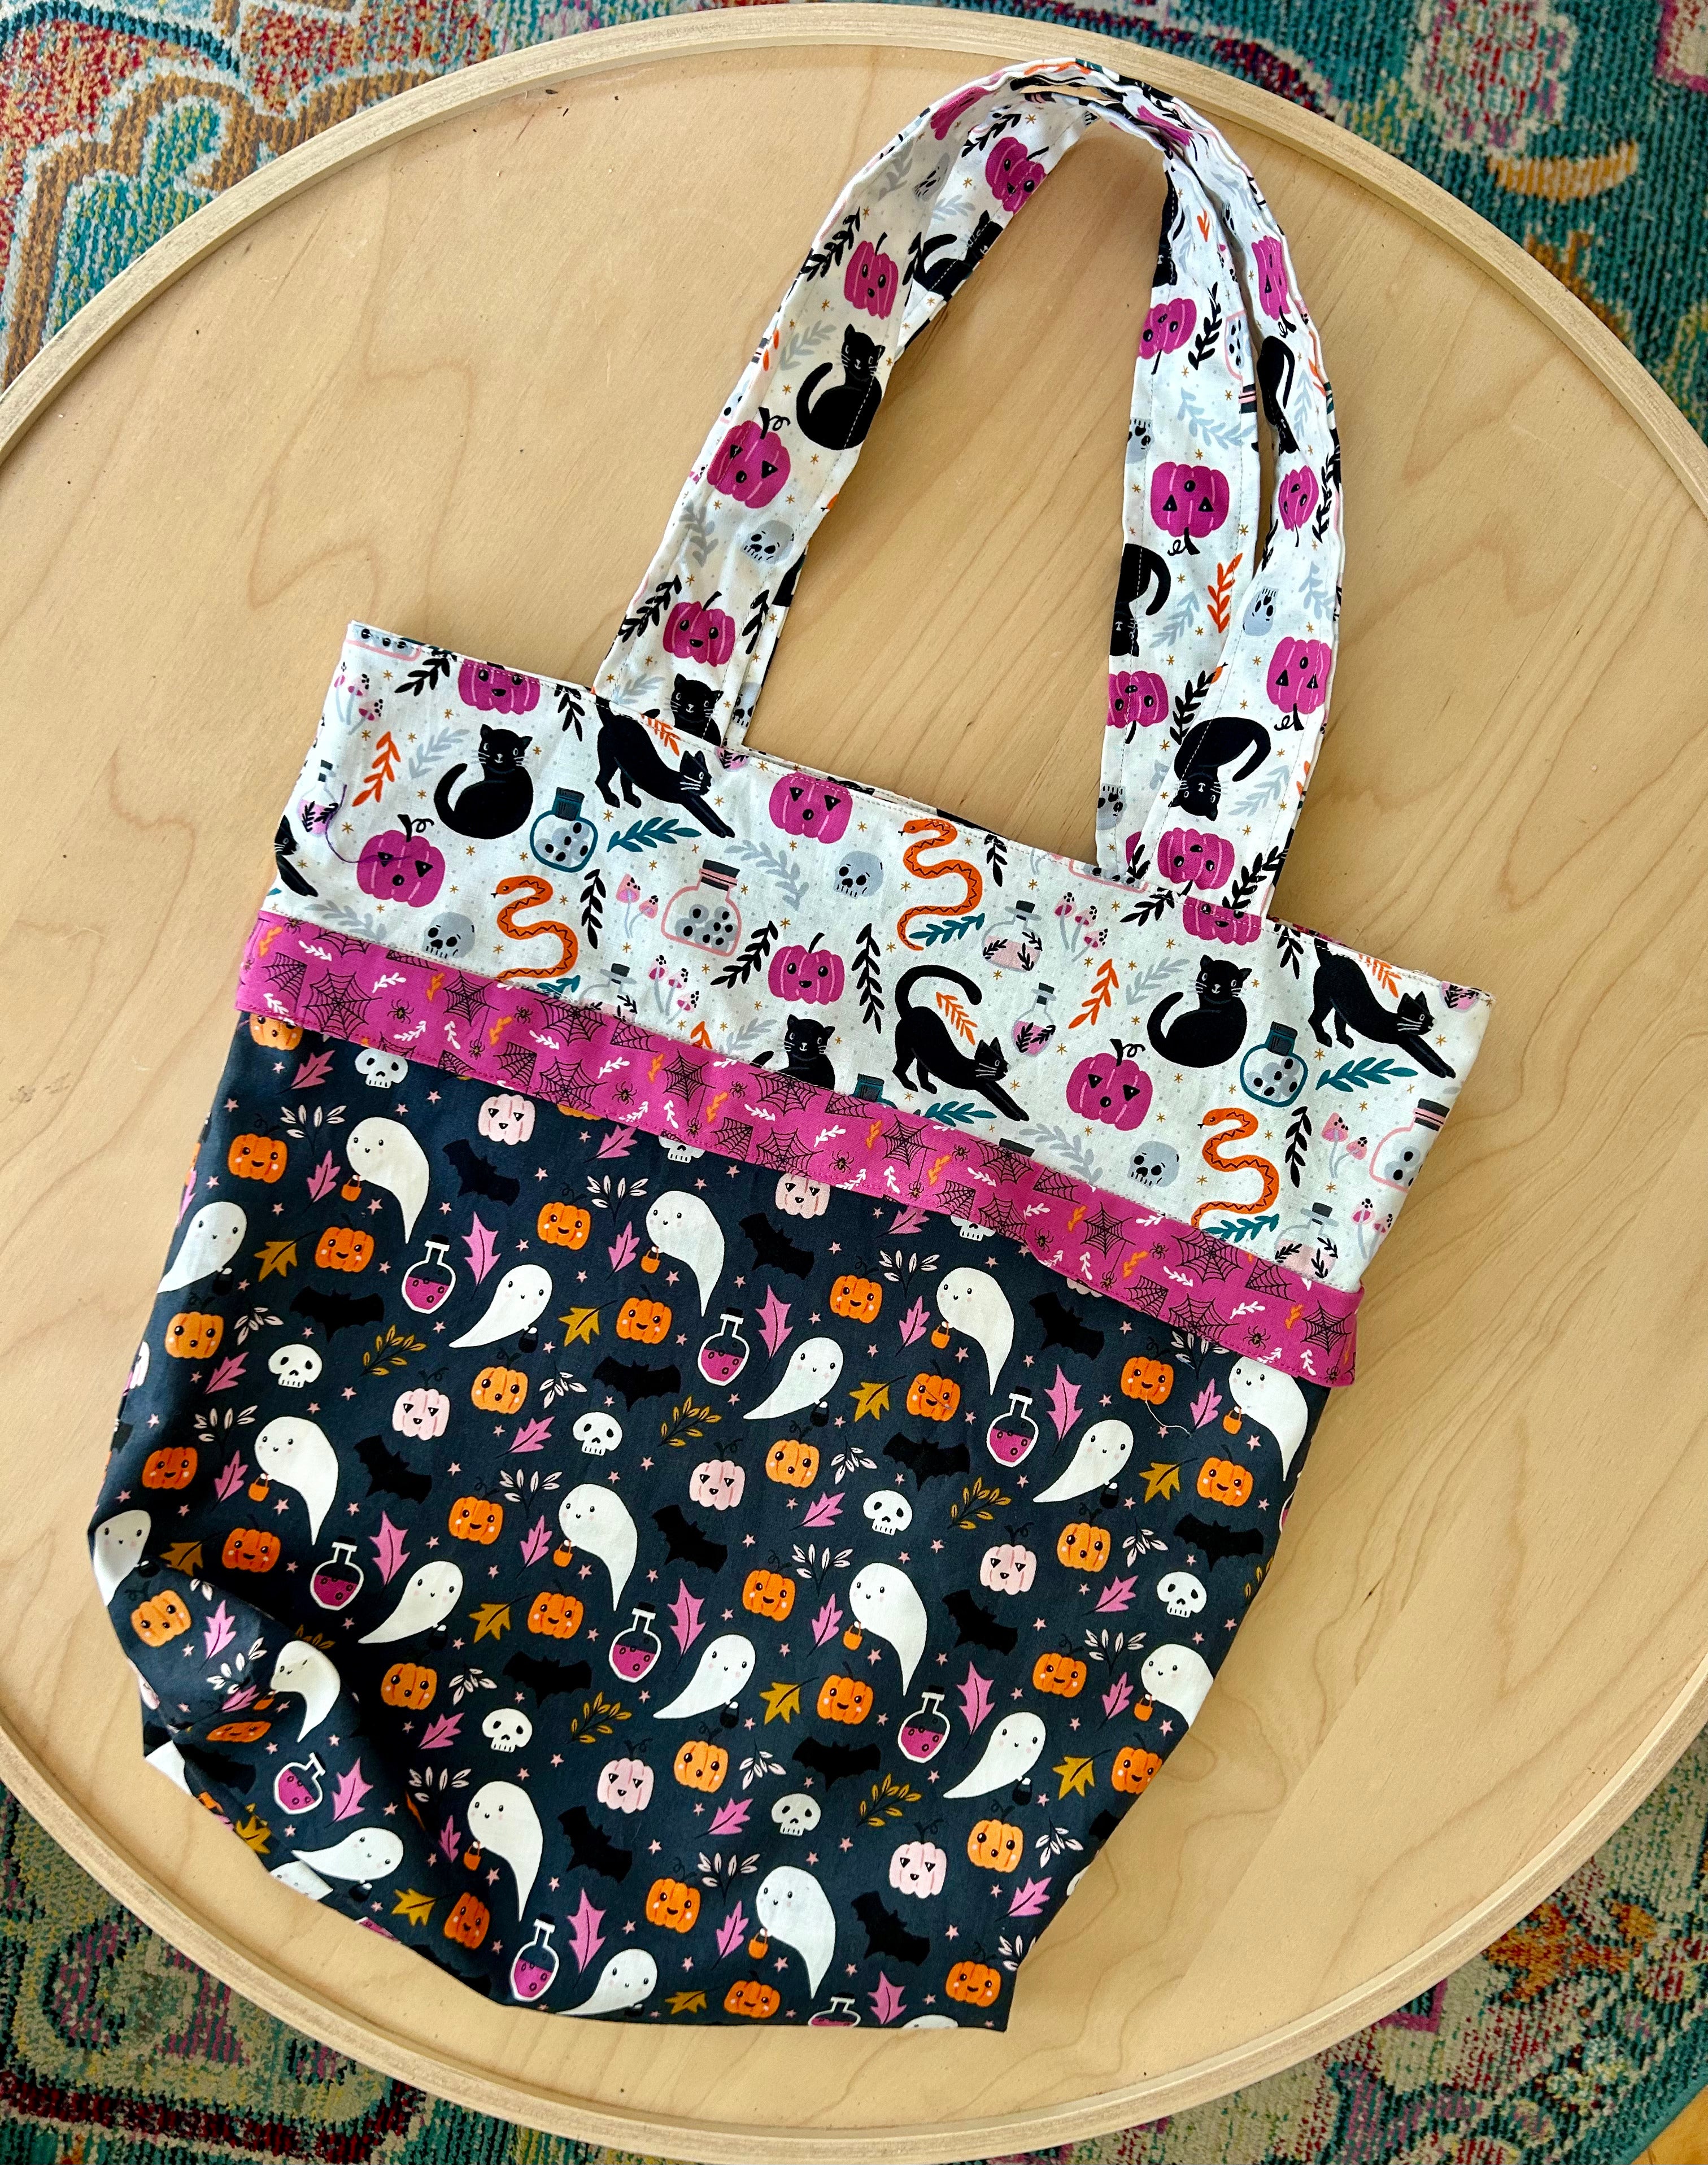
Stay tuned for a tutorial next month for a strippy table runner in rich autumnal colors - all cut with Stripology!
![]()


Leave a comment
This site is protected by hCaptcha and the hCaptcha Privacy Policy and Terms of Service apply.